
Have you ever wanted to save something important on your Dell laptop screen but didn’t know how? Whether it is an interesting webpage, an important message, an error notification, an online receipt, or a memorable photo, taking a screenshot can save it instantly.
The good news is that taking a screenshot on a Dell laptop is quick and easy. You don’t need expensive software or technical knowledge. Windows provides several built-in screenshot methods, while Dell keyboards offer convenient shortcut keys that make the process even faster.
In this guide, you’ll learn how to take a screenshot on a Dell laptop using different methods, where screenshots are saved, how to capture only part of the screen, and what to do if the Print Screen key doesn’t work.
Let’s get started!
1.What Is a Screenshot?
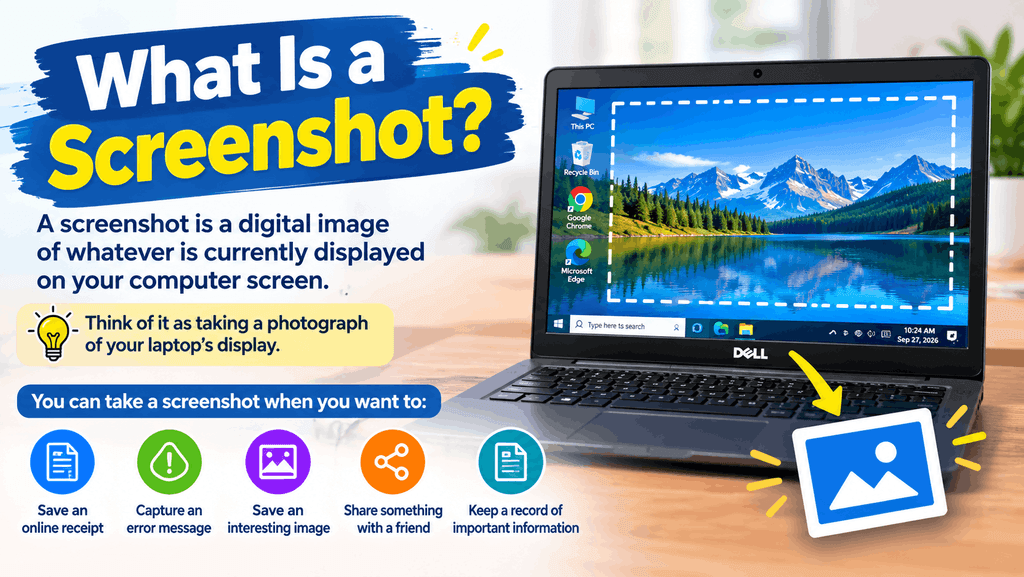
A screenshot is a digital image of whatever is currently displayed on your computer screen. Think of it as taking a photograph of your laptop’s display.
For example, you can take a screenshot when you want to:
- Save an online receipt
- Capture an error message
- Save an interesting image
- Share something with a friend
- Keep a record of important information
- Show someone a computer problem
- Save part of a webpage
- Create instructions or tutorials
On a Dell laptop running Windows, there are several simple ways to capture your screen.
Method 1: Use the Print Screen Key
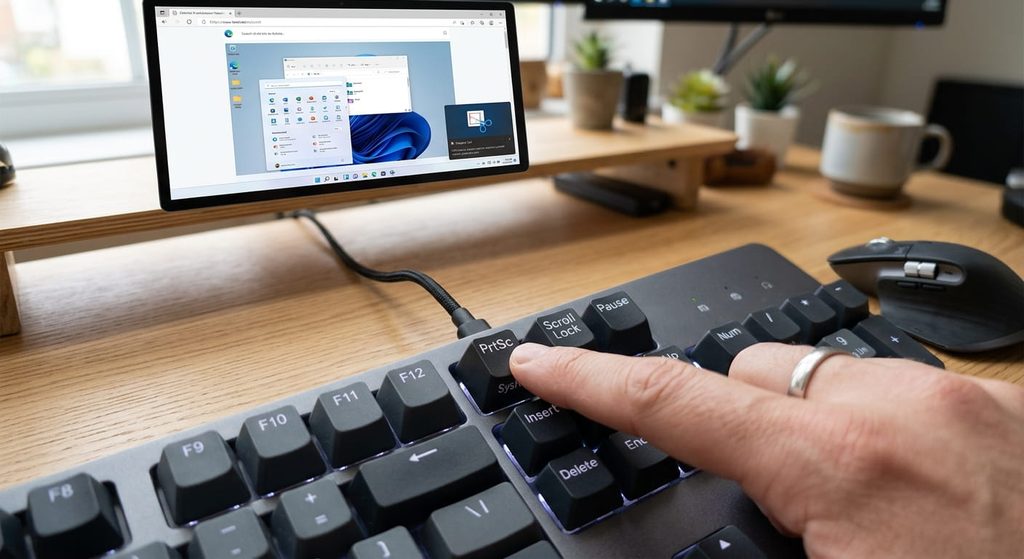
One of the fastest ways to capture your entire screen is by using the Print Screen key.
Depending on your Dell laptop model, the key may be labeled:
- PrtSc
- PrtScn
- Print Screen
- PrtScr
How to Use Print Screen
- Open the screen you want to capture.
- Press the Print Screen key.
- Windows copies an image of your screen to the clipboard.
- Open Microsoft Paint, Word, an email, or another application.
- Press Ctrl + V to paste the screenshot.
- Save the image if you want to keep it.
This method is particularly useful when you want to quickly copy your entire screen and paste it somewhere else.
Important Tip
Pressing Print Screen may not automatically create a picture file in your Pictures folder. In many cases, it simply copies the screenshot to the clipboard.
That’s why you need to paste it into an application such as Paint before saving it.
Method 2: Windows Key + Print Screen
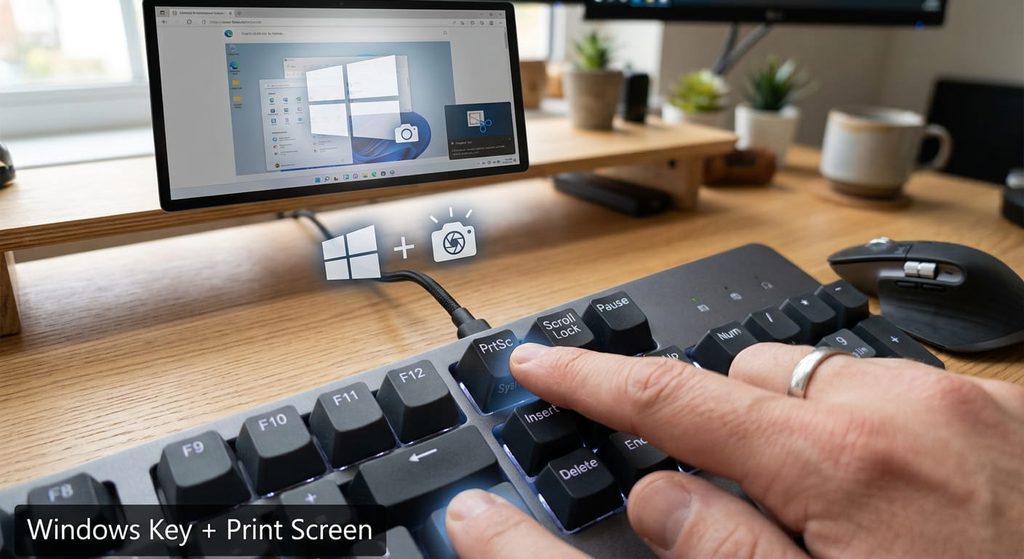
Want to save a screenshot automatically?
Try this shortcut:
Windows Key + Print Screen
Press both keys at the same time.
Your screen may briefly dim, indicating that Windows has captured the screenshot.
Where Is the Screenshot Saved?
Usually, Windows automatically saves the image in:
Pictures → Screenshots
This is one of the easiest methods because you don’t have to open Paint or another application.
You can then open the Screenshots folder and rename, edit, move, or share the image.
Method 3: Capture a Selected Area With Snipping Tool

Sometimes you don’t want to capture the entire screen. Maybe you only need a particular paragraph, image, window, or section of a webpage.
That’s where the Snipping Tool becomes extremely useful.
How to Open Snipping Tool
Press:
Windows Key + Shift + S
Your screen will appear with screenshot options.
You can generally select the area you want to capture by dragging your mouse over it.
Why Use Snipping Tool?
It lets you capture only the information you need instead of taking a picture of your entire desktop.
For example, if you’re reading a long webpage and only want to save one important section, simply select that section.
After capturing the area, Windows places the screenshot in the clipboard, and you can paste it into another application.
Depending on your Windows version and Snipping Tool settings, you can also open the captured image for editing and saving.
Method 4: Take a Screenshot of an Active Window
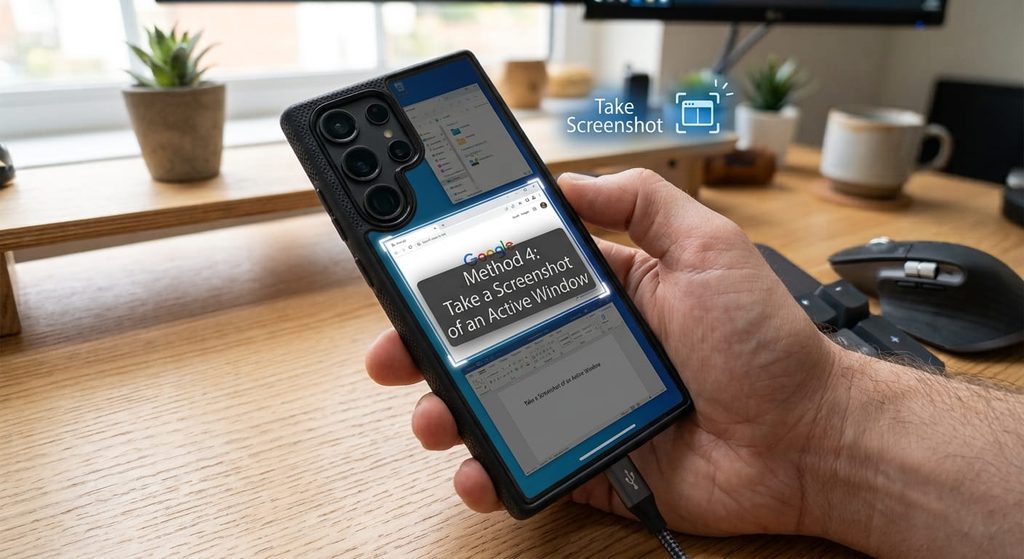
Do you have several windows open but only want to capture one?
You can use:
Alt + Print Screen
This shortcut captures the currently active window instead of the entire desktop.
Follow These Steps
- Open the window you want to capture.
- Click the window so it becomes active.
- Press Alt + Print Screen.
- Open Paint or another compatible application.
- Press Ctrl + V.
- Save the image.
This is particularly useful when you don’t want other windows, your taskbar, or your desktop background appearing in the screenshot.
Method 5: Use the Snipping Tool From the Start Menu
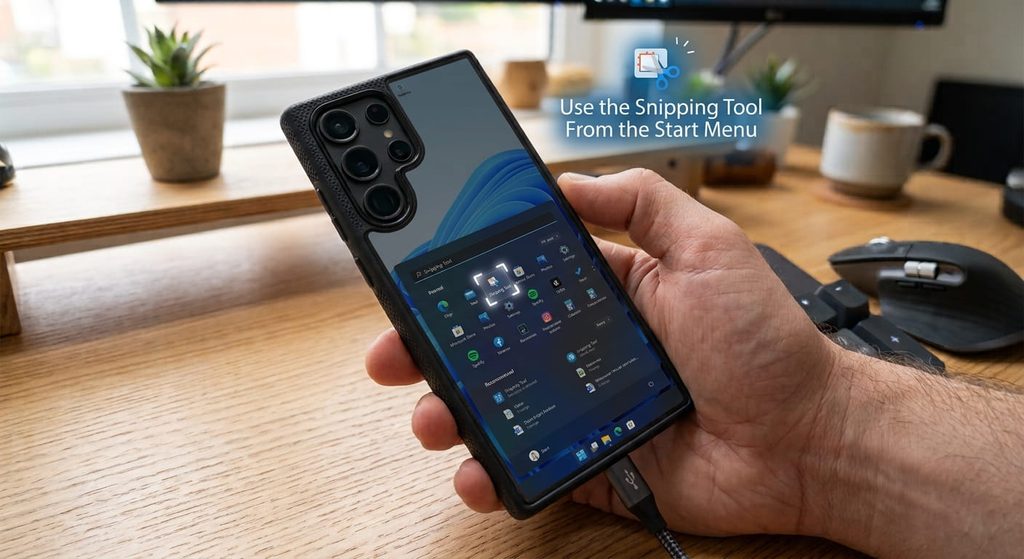
If keyboard shortcuts are difficult to remember, you can open the Snipping Tool manually.
Steps
- Click the Start button.
- Type Snipping Tool in the search box.
- Select the Snipping Tool.
- Choose the option to capture a new screenshot.
- Select the area you want.
- Edit or save the screenshot.
This method is beginner-friendly and doesn’t require remembering keyboard shortcuts.
Method 6: Use the On-Screen Keyboard
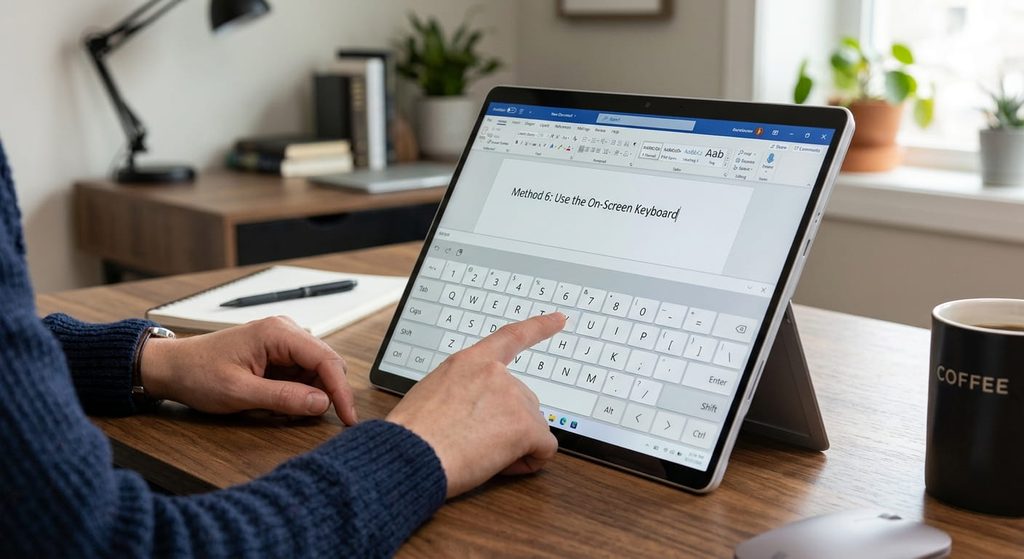
What if your Dell laptop keyboard doesn’t have an easily accessible Print Screen key?
Windows includes an On-Screen Keyboard that can provide an alternative.
How to Open It
Search Windows for:
On-Screen Keyboard
Open the application and look for the PrtScn key.
You can then use it to capture your screen.
This can be useful if a physical keyboard key isn’t working correctly.
Why Is My Print Screen Key Not Working?
Sometimes users press the Print Screen key and nothing appears to happen.
Don’t worry. The screenshot may have been copied to the clipboard without creating a visible notification.
Try opening Microsoft Paint and pressing:
Ctrl + V
If your screenshot appears, the Print Screen key worked.
If it still doesn’t work, try the Windows screenshot shortcuts described above.
What If My Dell Laptop Requires the Fn Key?
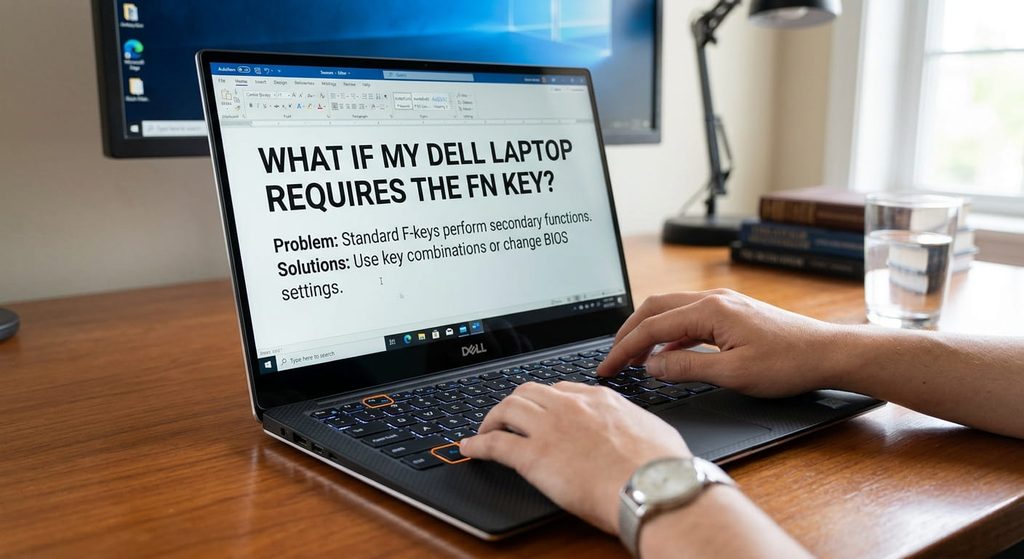
Some Dell laptop keyboards use the Fn key together with certain function keys.
Depending on your particular keyboard layout, you may need to try:
Fn + Print Screen
or another combination involving the Fn key.
The exact keyboard layout can vary between Dell laptop models, so check the labels on your keyboard.
If one shortcut doesn’t work, the Windows Snipping Tool is an excellent alternative.
How to Save a Screenshot as an Image
After taking a screenshot with Print Screen, you may need to save it manually.
One simple method is Microsoft Paint.
Steps
- Take your screenshot.
- Open Paint.
- Press Ctrl + V.
- Your screenshot should appear.
- Click File.
- Choose Save As.
- Select a format such as PNG or JPEG.
- Choose where you want to save the image.
- Give the file a name.
- Click Save.
PNG is often a good choice when you want to preserve text and sharp details.
Where Are Dell Laptop Screenshots Saved?
The location depends on the method you use.
If you use Windows + Print Screen, screenshots are commonly stored in:
Pictures → Screenshots
If you use Print Screen alone, the screenshot may be copied to the clipboard instead.
If you use the Snipping Tool, you can generally save the captured image manually or use the application’s available save options.
Knowing where your screenshots are stored makes it much easier to find them later.
How to Take a Screenshot Without Capturing the Whole Screen
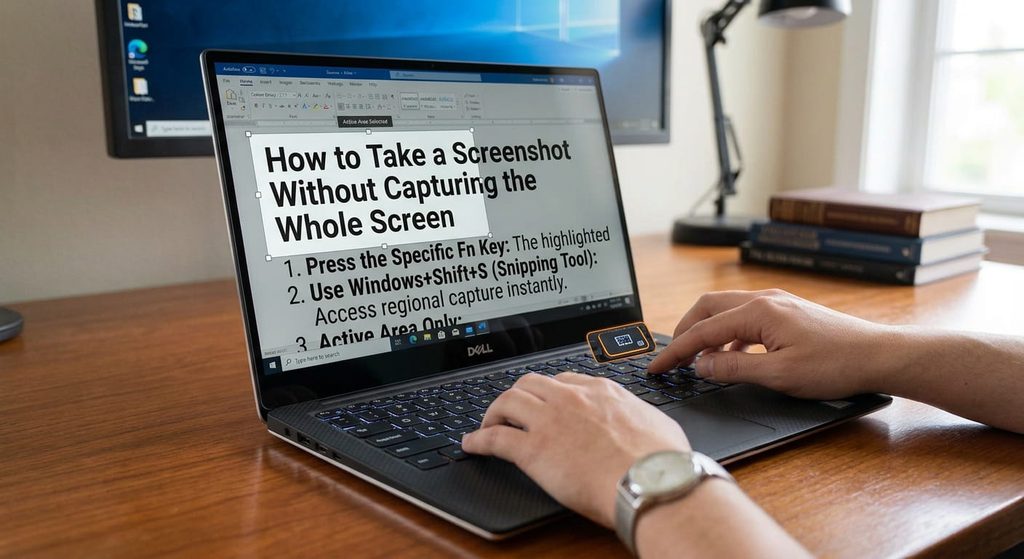
Sometimes a full-screen screenshot contains too much unnecessary information.
For example, imagine you want to capture only a product price from an online store. Capturing the entire desktop would be unnecessary.
Instead, use:
Windows + Shift + S
Then select only the part of the screen you need.
This creates a cleaner screenshot and makes it easier to share important information.
How to Edit a Screenshot
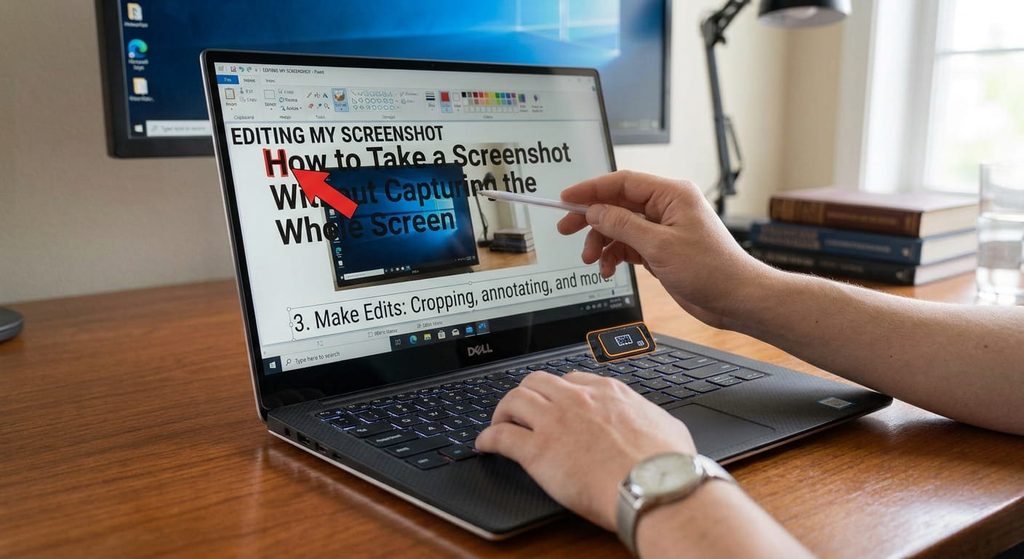
Taking the screenshot is only the beginning. You may also want to highlight something important.
You can use applications such as:
- Snipping Tool
- Paint
- Microsoft Photos
- Other image-editing software
For example, you could crop unwanted areas, draw around important information, or add simple markings before sharing the image.
This is especially helpful when you’re explaining a computer problem to technical support.
Which Screenshot Method Should You Use?
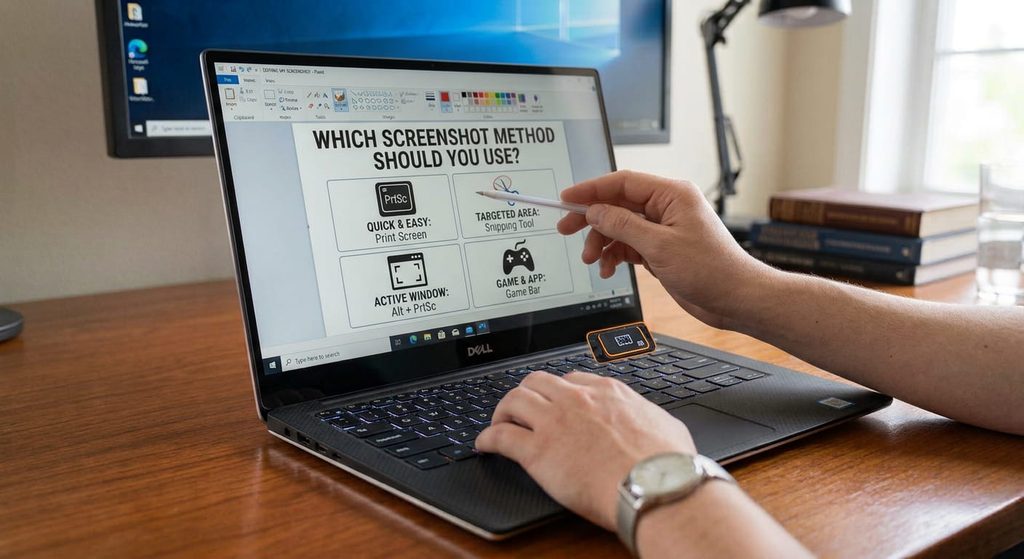
The best method depends on what you’re trying to accomplish.
| Screenshot Method | Best For |
|---|---|
| Print Screen | Capturing the entire screen to the clipboard |
| Windows + Print Screen | Automatically saving the full screen |
| Windows + Shift + S | Capturing a selected area |
| Alt + Print Screen | Capturing the active window |
| Snipping Tool | Capturing and editing screenshots |
| On-Screen Keyboard | When keyboard shortcuts are difficult |
For most users, Windows + Shift + S is one of the most flexible options because it lets you choose exactly what you want to capture.
Screenshot Tips for Dell Laptop Users
Want better screenshots? Keep these simple tips in mind.
1. Clean Your Screen First
Close unnecessary windows, notifications, and applications before capturing your screen.
2. Capture Only What You Need
Use the Snipping Tool when you only need a specific section.
3. Choose the Right File Format
PNG can be useful for screenshots containing text, icons, and sharp graphics.
4. Rename Important Screenshots
Instead of keeping names such as “Screenshot 2026-09-27,” use descriptive names such as:
Dell-Laptop-Error.png
This makes files much easier to find later.
5. Organize Your Screenshots
Create folders for work, tutorials, receipts, troubleshooting, or personal images.
Frequently Asked Questions
Can I take a screenshot on a Dell laptop without installing software?
Yes. Windows includes built-in screenshot features such as Print Screen and Snipping Tool, so additional software is generally unnecessary for basic screenshots.
What is the easiest way to screenshot on a Dell laptop?
For a quick full-screen capture, try Windows + Print Screen. For capturing a specific area, Windows + Shift + S is a convenient choice.
Why can’t I find my screenshot?
If you used Print Screen alone, the image may only be in your clipboard. Try opening Paint and pressing Ctrl + V. If you used Windows + Print Screen, check Pictures → Screenshots.
Can I screenshot only one part of my screen?
Yes. Press Windows + Shift + S and select the area you want to capture.
Does every Dell laptop use the same screenshot key?
Not necessarily. Dell keyboard layouts can vary by model. Some keyboards may require the Fn key for certain functions.
Final Thoughts
Learning how to take a screenshot on a Dell laptop can save you time and make everyday computer tasks much easier. Whether you want to save an online receipt, capture an error message, share an interesting image, or explain something to another person, Windows gives you several simple options.
If you want to capture everything on your display, try Windows + Print Screen. If you only need a particular section, Windows + Shift + S is an excellent choice. For more control, open the Snipping Tool and edit your screenshot before saving it.
The best part? You don’t need advanced computer skills or expensive software. With just a few keyboard shortcuts, your Dell laptop can turn almost anything on your screen into a useful image in seconds.
So the next time you see something important on your Dell laptop screen, don’t reach for your phone—take a screenshot and save it instantly!